Applying decals to a frame properly may sound simple, but at times may not be as easy as it sounds, and to some, it may be a tedious task. But it’s actually a pretty easy process if you know how to do it properly.
So, we’ll show you the best and easiest way to apply decals to your BMX frame and forks, because the last thing you’ll want to do is place them incorrectly and ruin a brand new set.
These are materials you will need for your decal application:
- Rubbing Alcohol
- Paper Towel
- Scissors
- Don’t forget your new decal set 😉
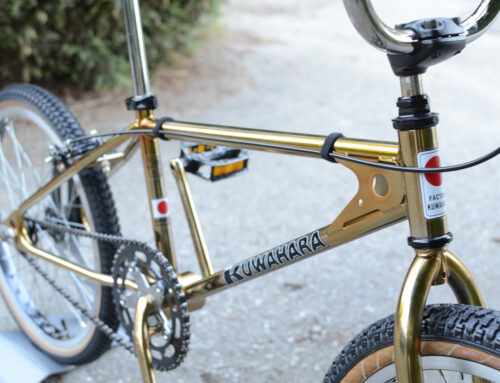
Before we get started, we recommend that decals should be applied only to a complete assembled BMX, and so this tutorial will be demonstrated on a complete build.
Preparation Steps:
Step 1:
Once you have your materials on hand, place your complete BMX in a show bike stand or have it upright against a wall before you start as it is easiest to apply decals to a BMX that is upright and still.
Step 2:
Remove any padsets you may have on the top tube. This will keep them out of the way, and make visibility of your tubes better.
Step 3:
Remove all stickers being replaced, and any excess grime or sticky residue left behind by pouring some rubbing alcohol on a paper towel and firmly rubbing it on the frame. Repeat until the frame is clean.
Please note: This works best on chrome frames. It is up to you to decide if the alcohol will remove or damage your painted frame
Step 4:
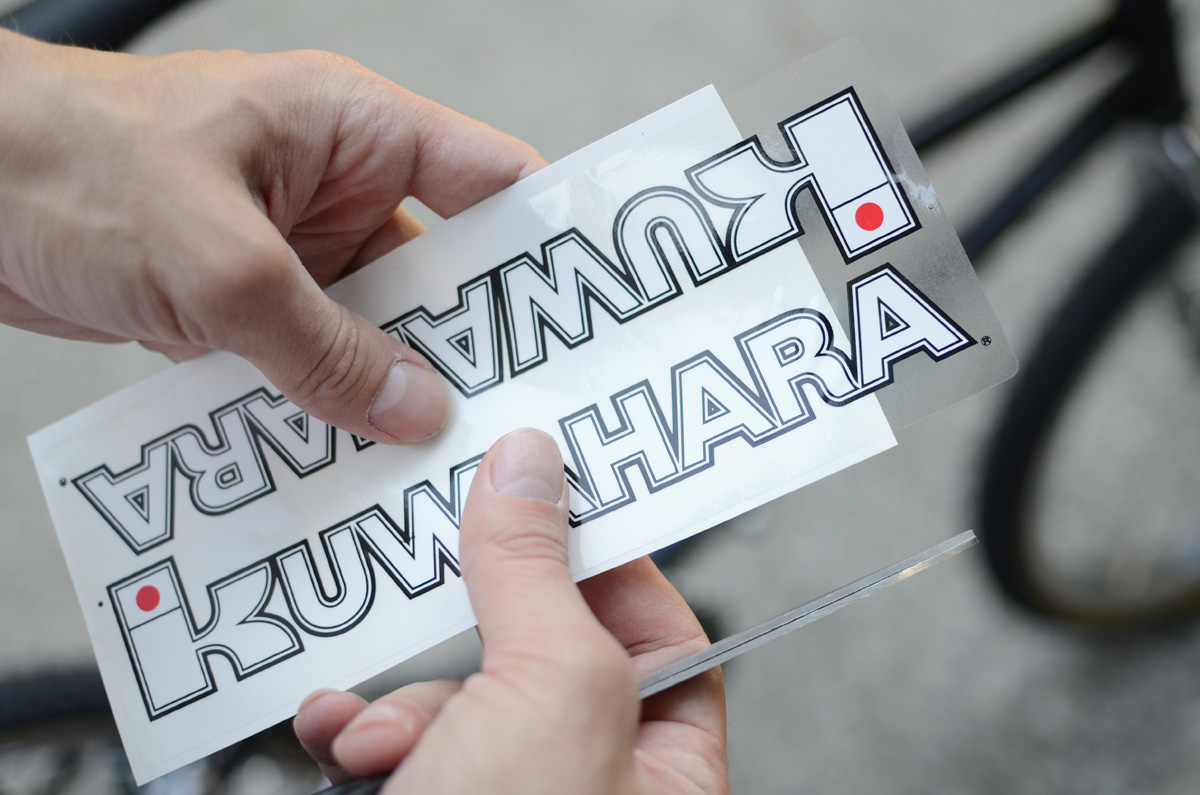
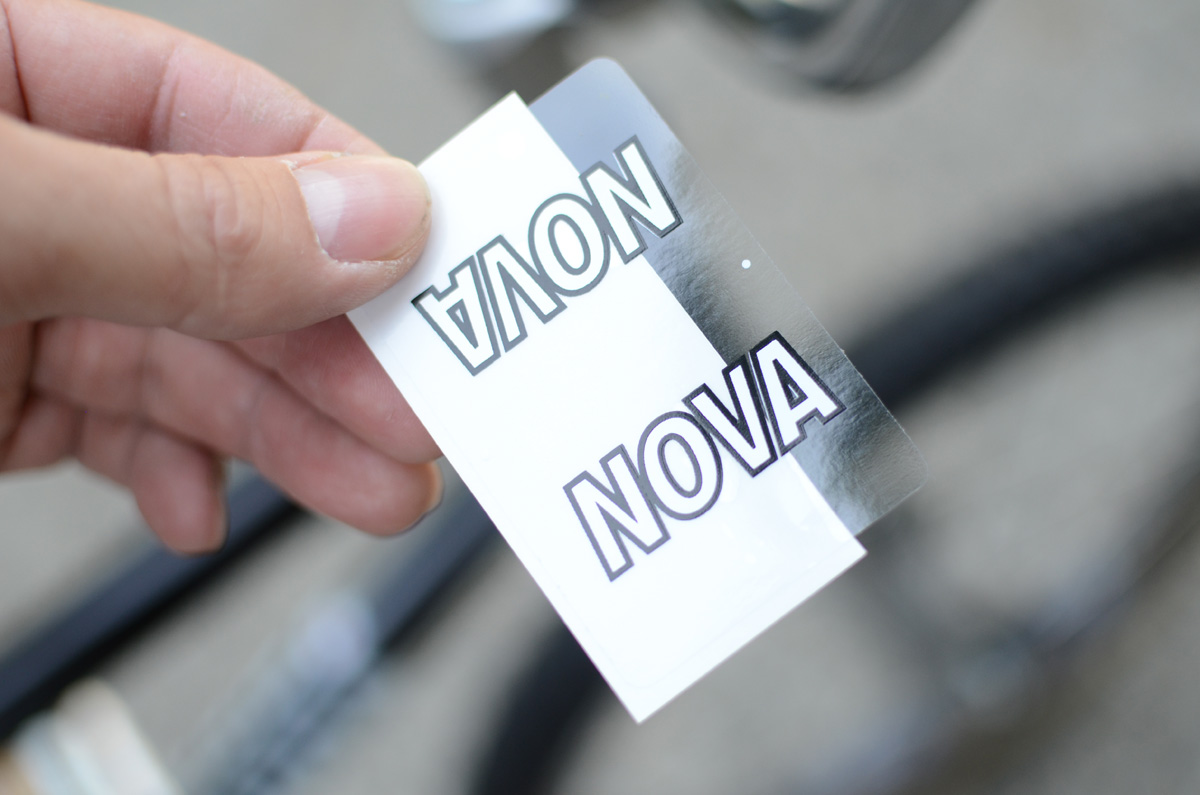
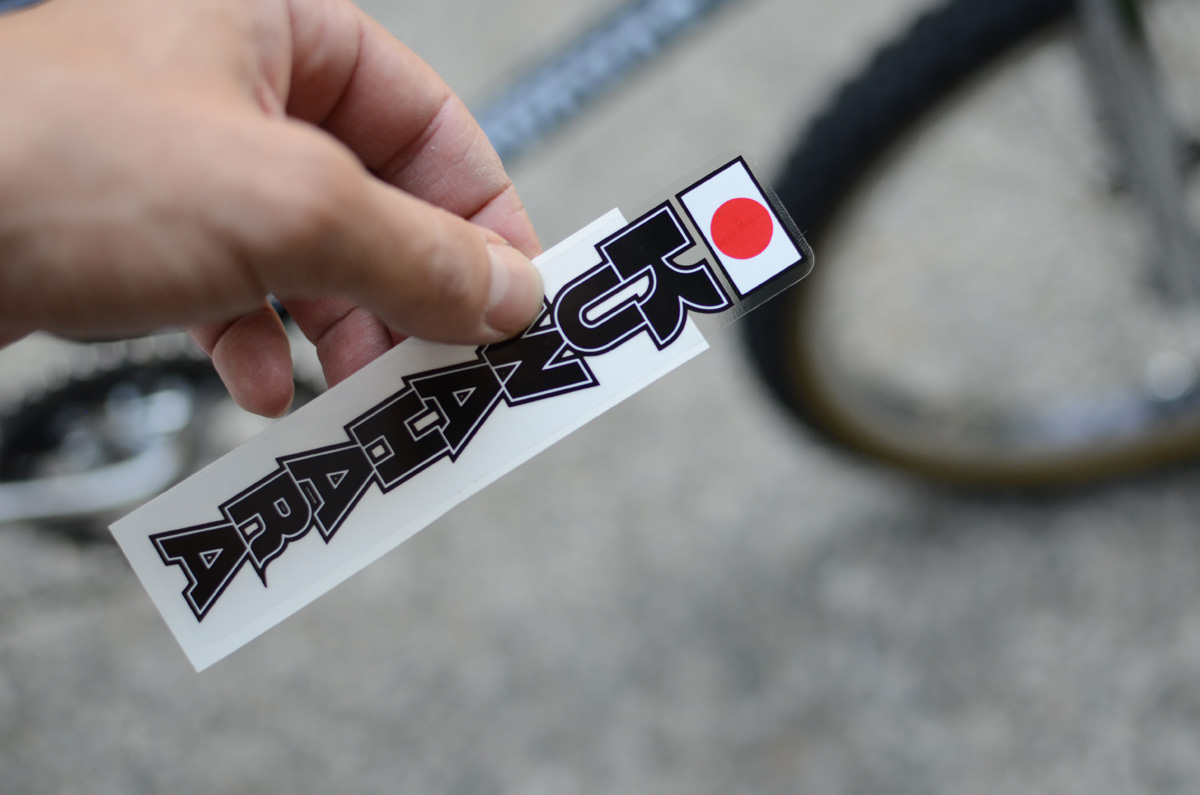
Separate all your decals individually if they came on one big sheet and trim any excess backing sheet as close as you can get to the decal with out cutting the decal.
Application Steps:
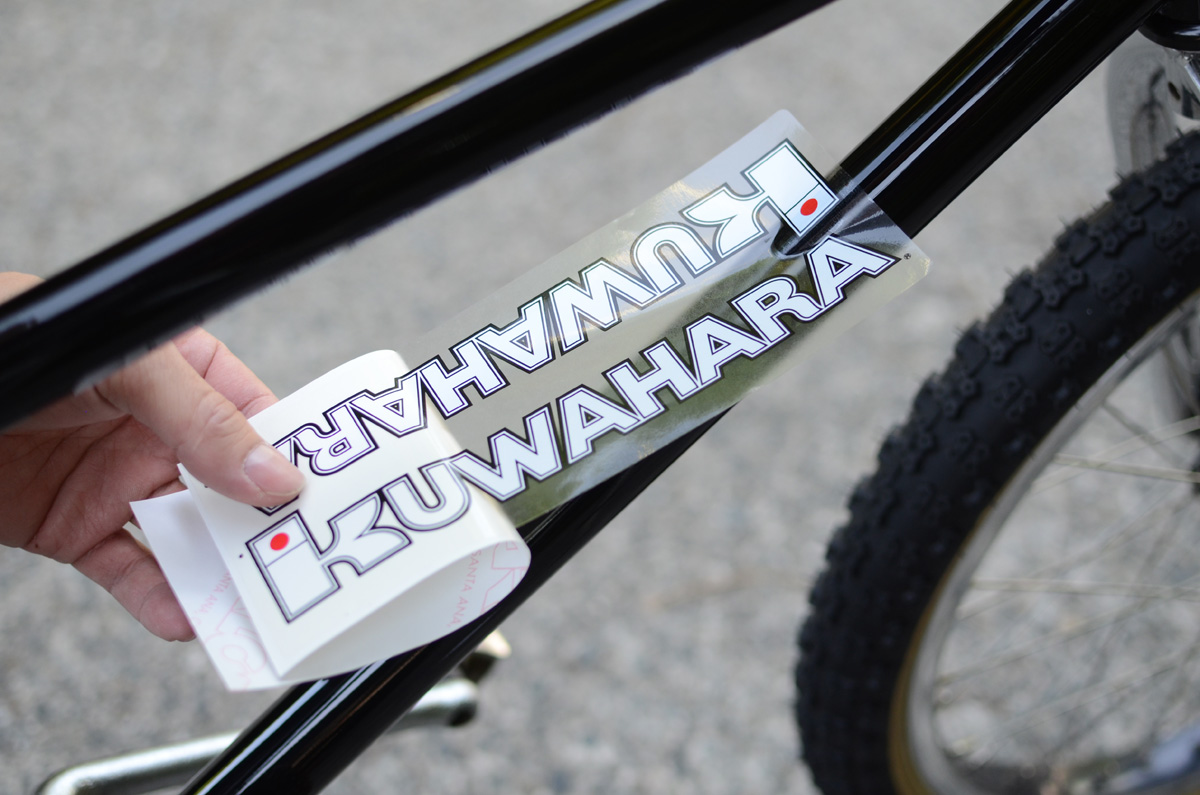
Step 1:
Peel back your decal from one end (away from your hand) and cut off about 15-25% of the backing sheet from the decal. Do NOT touch the adhesive side of the decal or you will risk getting fingerprints on it, oils, dirt, dust, skin etc and can ruin the adhesiveness of it.
Step 2:
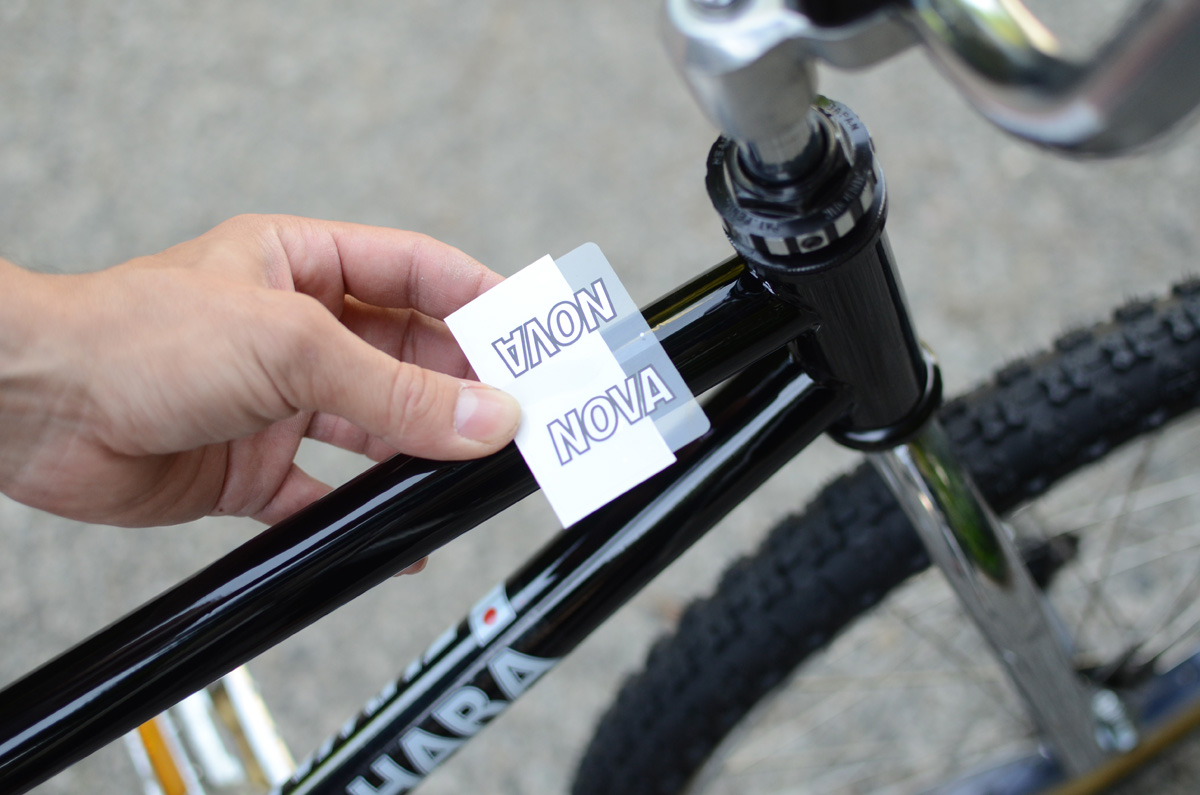
Align and hold the non-cut end of the decal sheet to the center of the frame tube using your thumb. Do not apply the rest of the exposed decal yet.


Step 3:
Once the decal is aligned with the frame tube, apply on the middle of the exposed decal to the frame using your index finger.
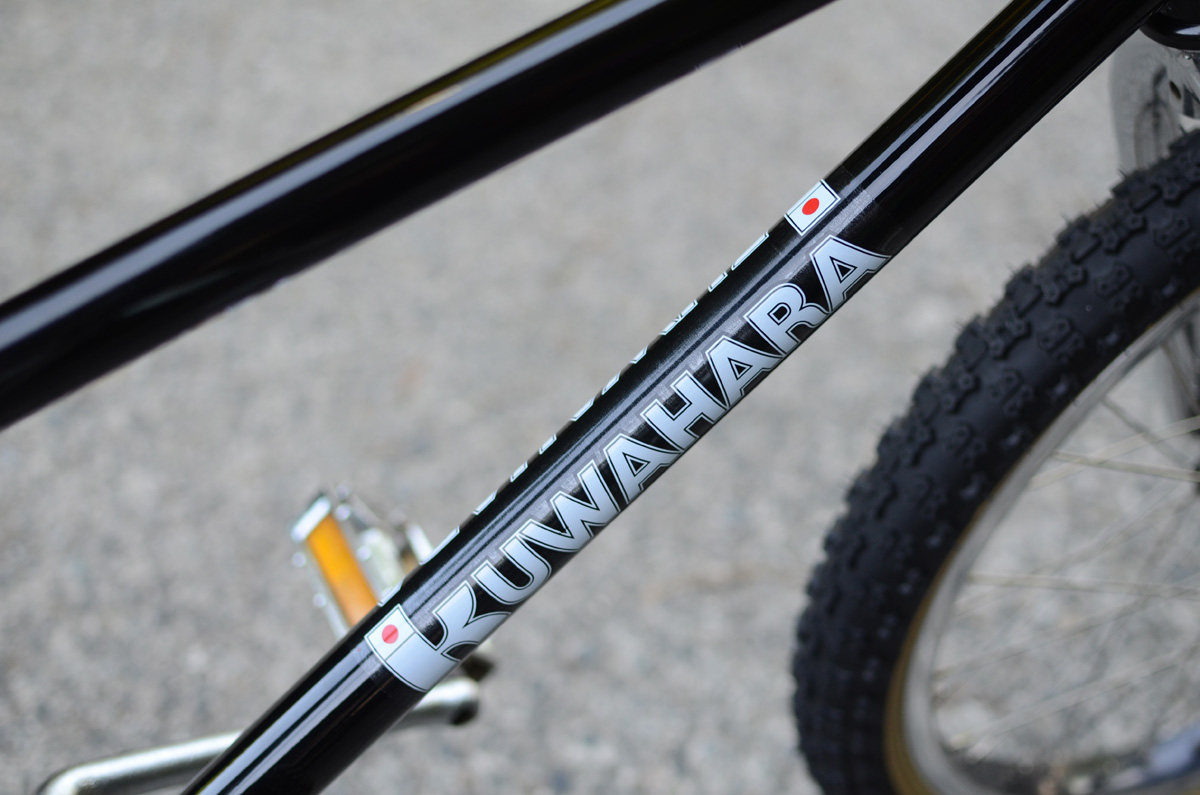
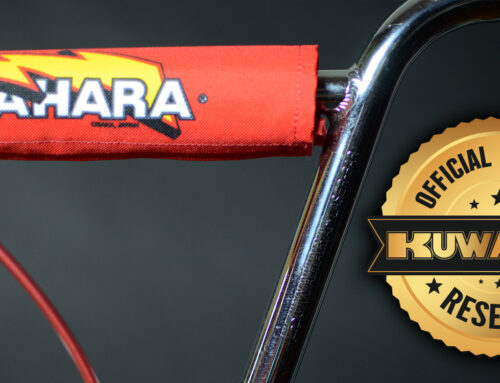
Tip: Use “Placement Dots” on Kuwahara decals to align the decal to the frame tube. Our decals are Factory Correct and include them just like Factory Originals.
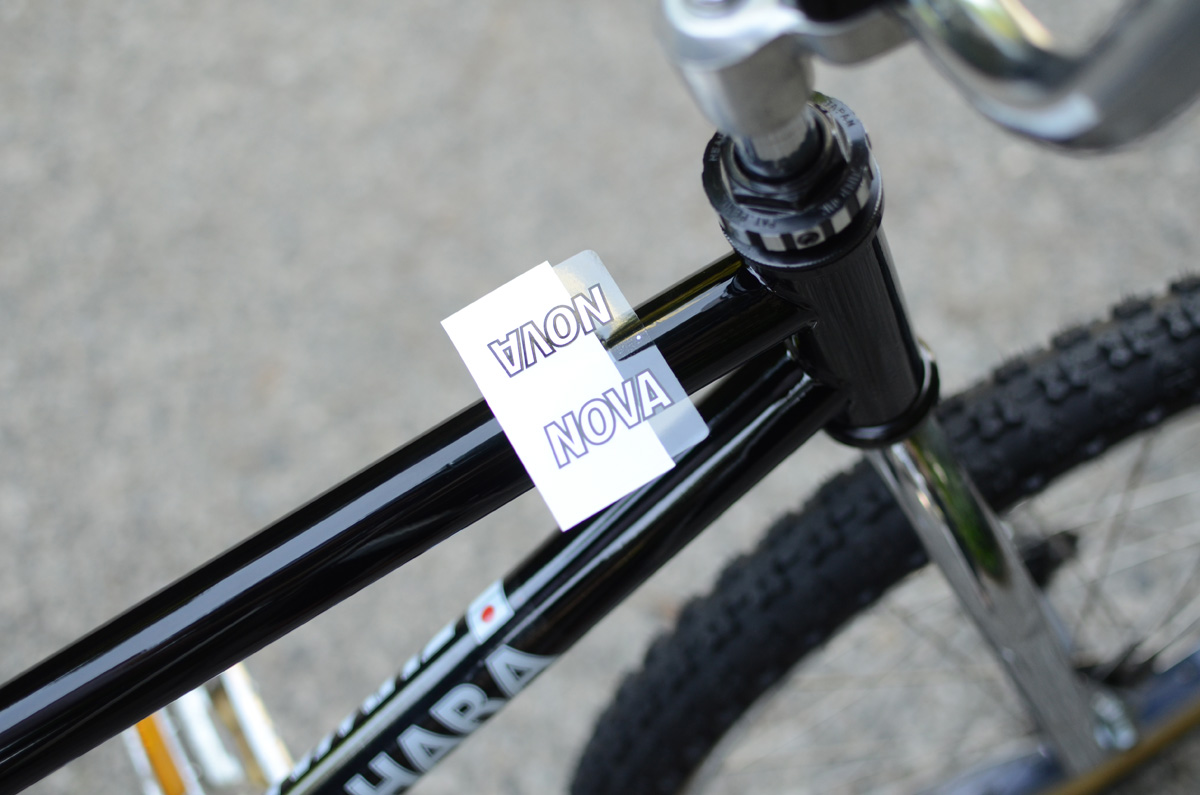
Step 4:
Peel the backing sheet while holding the decal straight, and apply the exposed decal with your thumb down the middle of the frame tube only.
Step 5:
Now, carefully start applying the sides of the decal from the middle outwards slowly to ensure no bubbles get trapped.

Repeat these steps for the other decals for your frame set.
