
Restoring a vintage old school BMX can be an easy task or a big project. It may be as simple as washing and wiping down an old dusty garage find, or restoring a classic rusty beat down BMX from the ground up. Whatever the case may be, the final step, or the icing on the cake, comes down to the applying the right set of reproduction decals to bring your BMX back to life.
So, after all that effort, elbow grease, and not to mention, hard earned money is spent into restoring your BMX, WHY cheap out on the most important part of your restoration… the decals?
Knowing what decal set to apply to your BMX depends on the brand, model and year. Once you’ve established that, the next and big question is… WHO do you buy the reproduction decals from?
Good question. If you are new to the BMX hobby, or lack the knowledge or information on the BMX you are building, then finding the right seller of these decals is confusing as there is not much information out there to guide you.
That’s why we’re here to help.
Here is a guide to finding the right restoration BMX decals for your project:
1 – Factory Correct Specifications – Detail & Accuracy
Most buyers think creating BMX decals is simple. You scan an old set, or take a picture of a frame, fix it up in Photoshop, and press print. That’s not how it works.
Tracing the decal artwork is the most important and time consuming task out of the whole process. How long the designer spends on the trace, will determine the accuracy of the end result.
Most Decal sellers online sell many different varieties of decals, and don’t have time to waste tracing so they end up doing a half ass job and think its good enough for print. The outcome is a sloppy trace, with estimated dimensions, and total in-accuracy.
WE on the other hand, spend countless hours tracing and measuring making sure our decals are as close as possible to being identical to original decal designs. And everything is done in vector, not bitmap.
2 – Decal Stock Material
Finding the correct decal material (the stuff the design is printed on) is another challenge. Finding, of course, the exact same material they used back in the ”80s is almost impossible so finding the next closest thing is what’s important.
Most clear decals were printed on vinyl material, not polyester or mylar. Vinyl stretches and works best on curves. Polyester and mylar don’t conform well and do not stretch.
The material also has to be the right thickness. Too thin and the decal will fold on you. Too thick and the decal will stick out on the tubes.
WE won’t give away our secrets to our competitors reading this, but we have chosen the perfect and exact same thickness decal stock that were used on decals printed by BMX companies back in the day.
3 – Printing – Silkscreen or Digital?
Most decals that came on BMX’s from the ’70s and ’80s, and even into the ’90s were silkscreen printed. NOT digitally printed like how our competitors print them.
Well, if silkscreen is the proper way to print BMX decals, then why doesn’t everybody do it? Simply because silkscreening is expensive so you must print in quantities (not just one-offs), and skilled employees are needed to pull it off with quality.
Which is exactly why other decal sellers online have hundreds of different kinds of decals in stock, because they can print them off on a digital printer, as customers order them. Is wouldn’t be smart business practice to silkscreen print hundreds of decals (even for decals that aren’t top sellers) and keep them in stock.
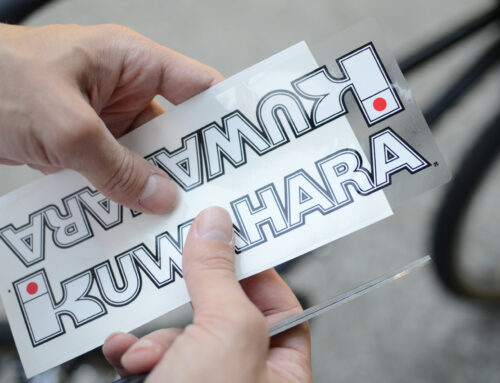
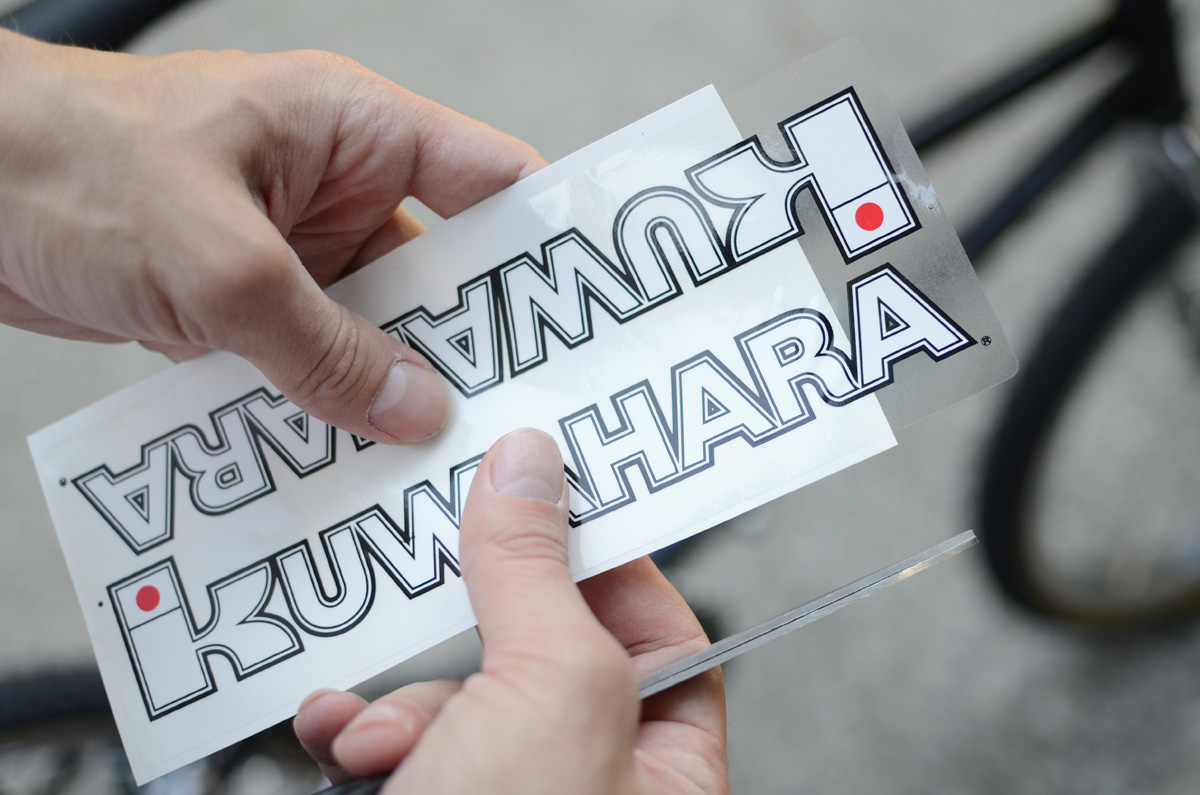
WE mainly specialize in Kuwahara, Norco, Ukai, Araya, WIN, Redline and Champion decals and therefore, have most of our decals silkscreen printed and have them on hand in stock.
Conclusion:
So when restoring your vintage old school BMX, do it right the first time. Buy Factory Correct restoration decals from Vintage Steel BMX.